A couple of weeks ago, we put together a ceremony backdrop hoping to add a wow factor to the look of an intimate wedding. It basically looked like this:
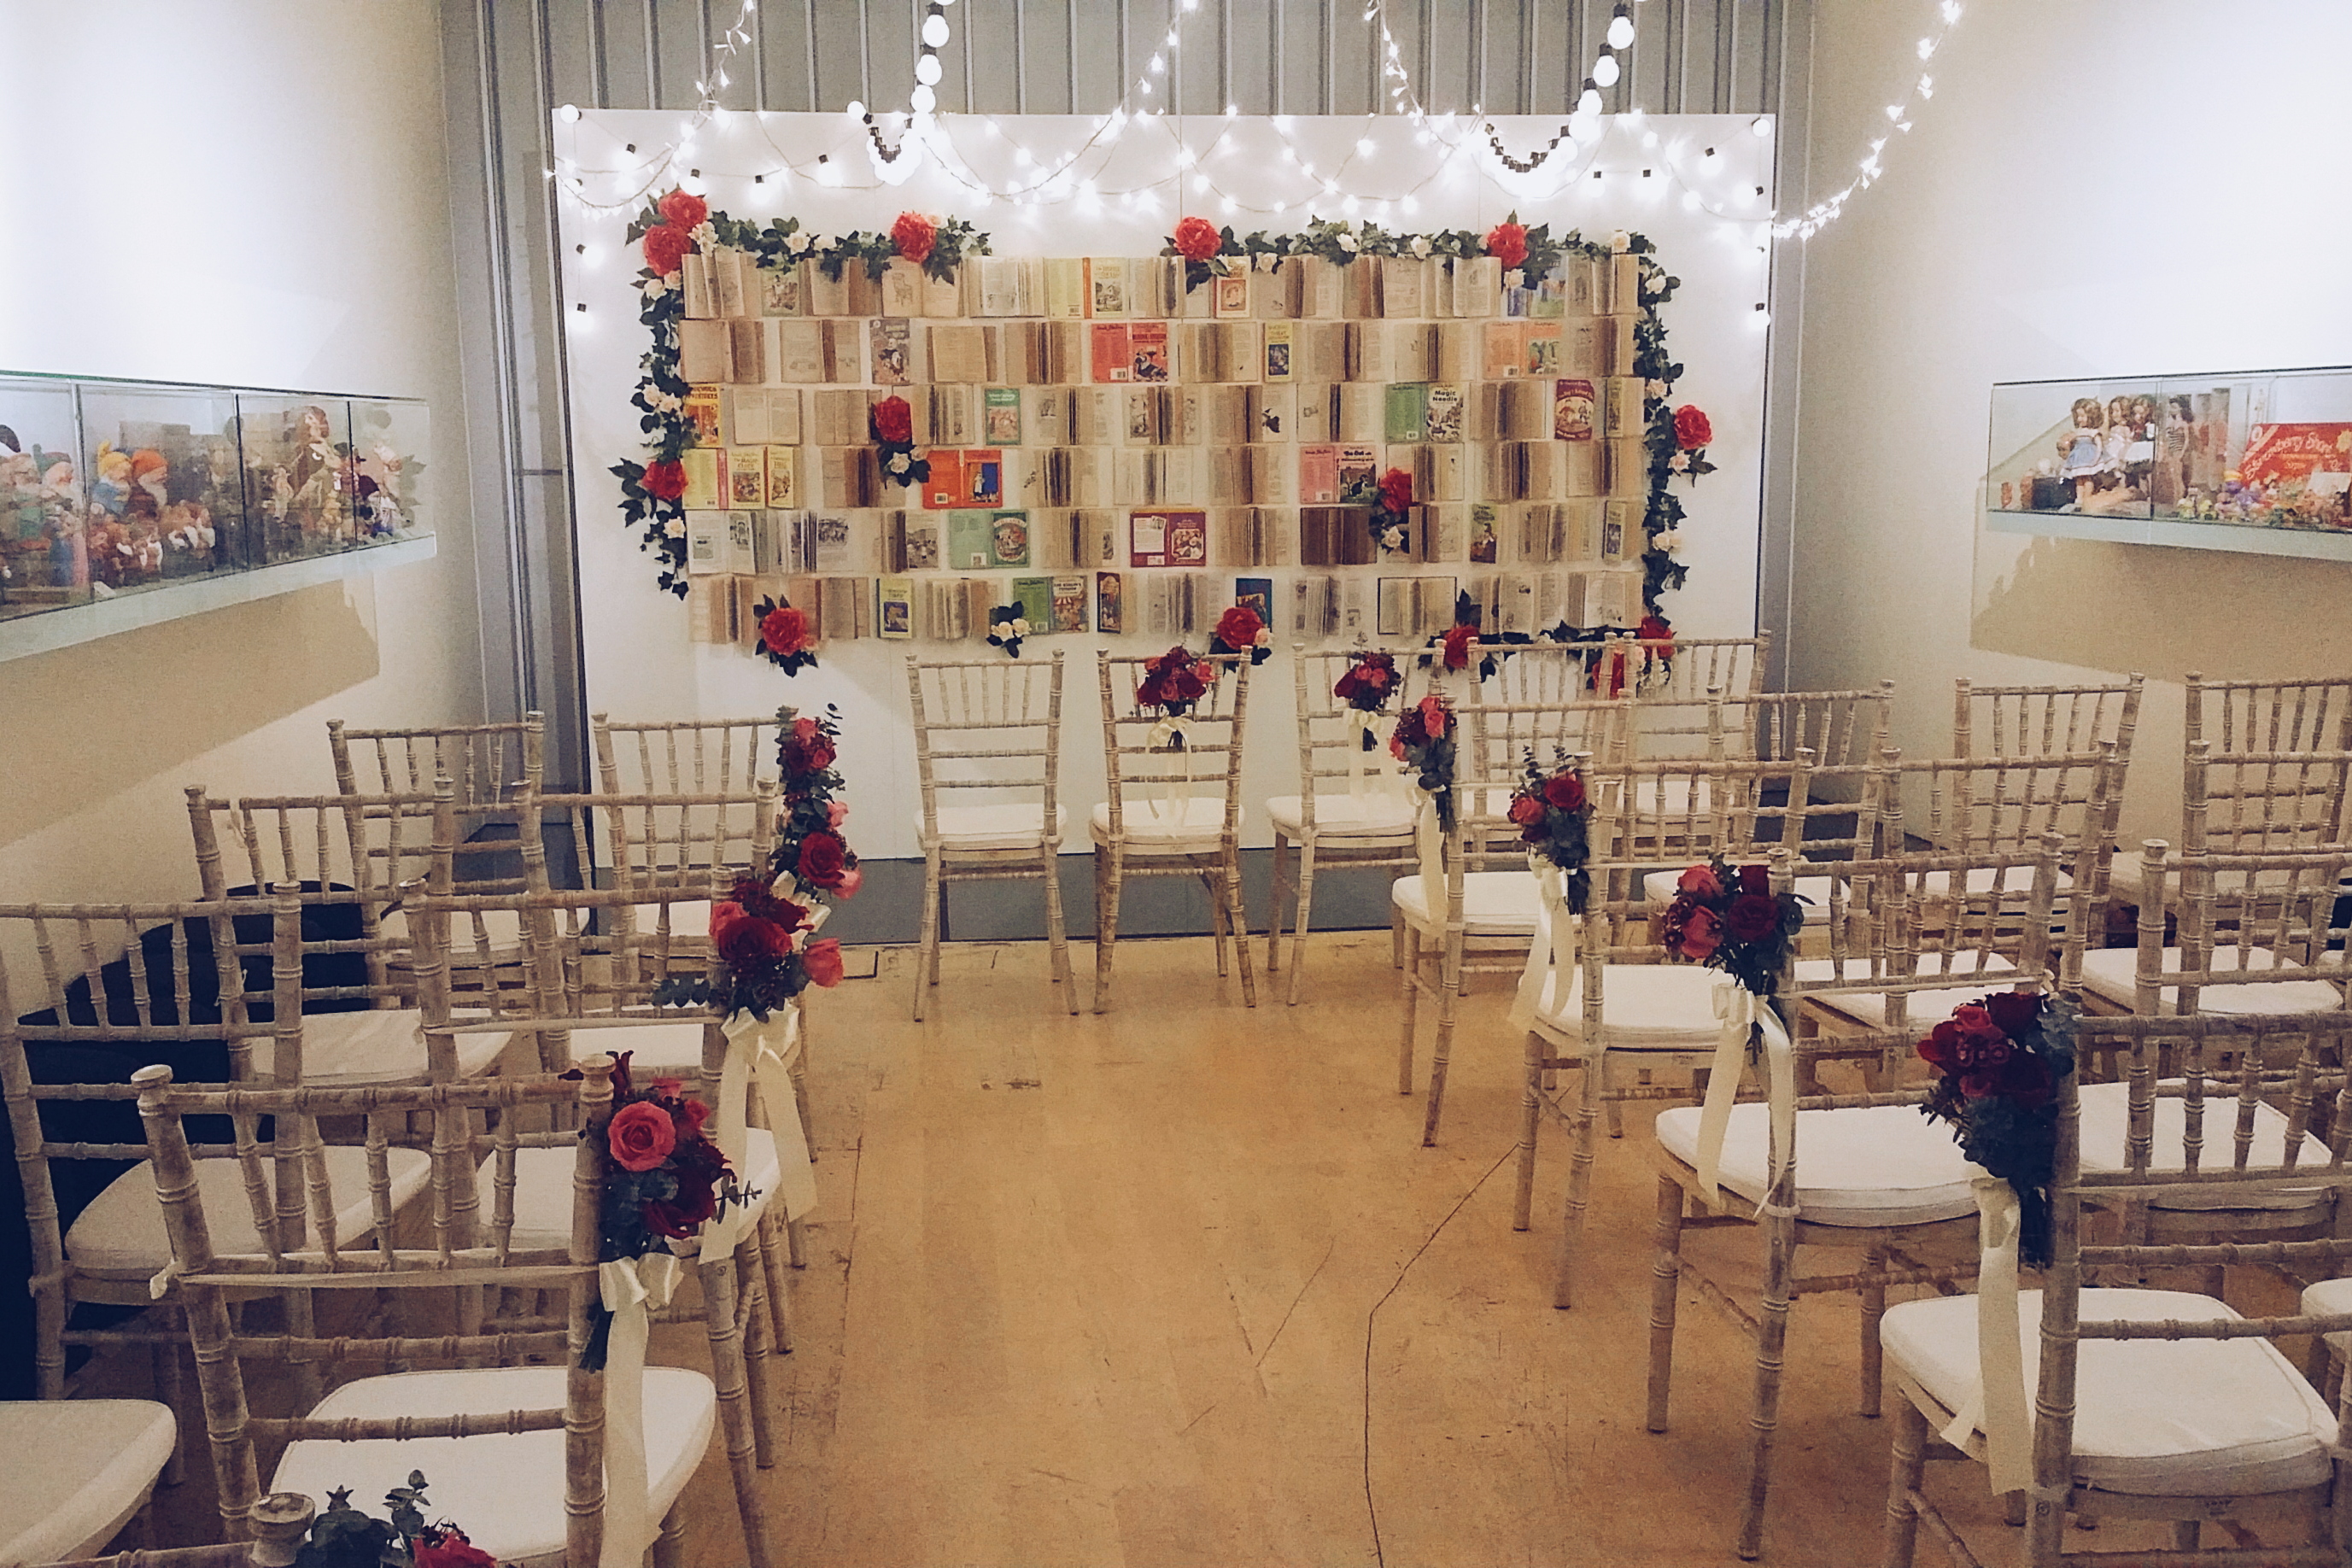
We were awed by it ourselves and here is a simple walkthrough of how we did it:
Concept / Idea
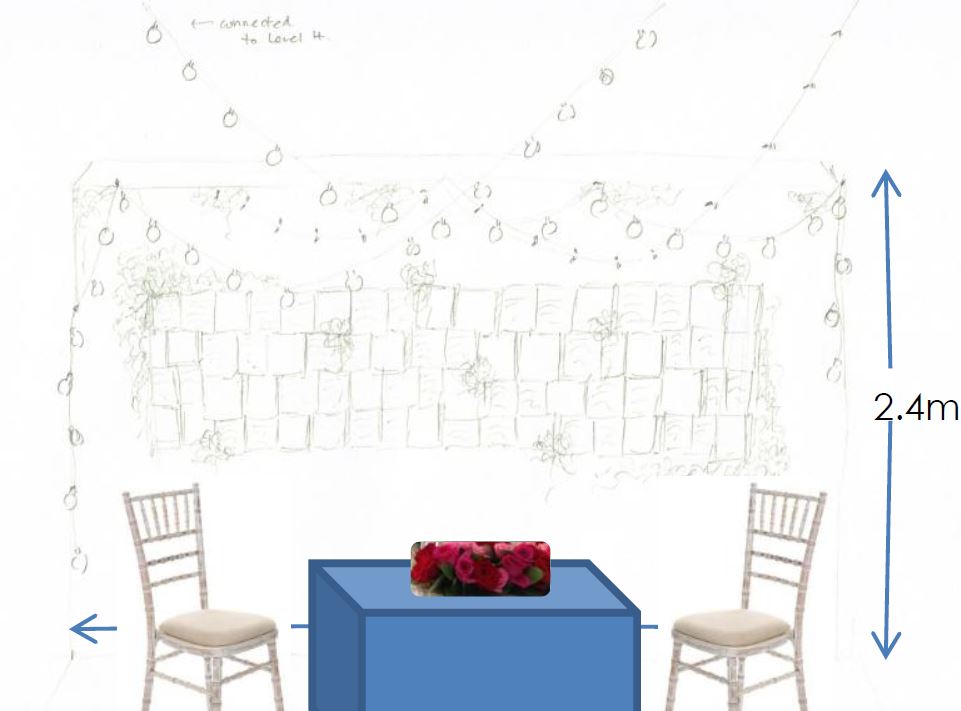
The couple had their solemnization ceremony held at the MINT Museum of Toys, a venue filled from floor to ceiling of all our favourite cartoon characters. With a theme that greatly exudes the old-school childhood vibes, we proposed having a backdrop made up of Enid Blyton’s books and the Bookworm series that we are all too familiar with – think Silent Reading time at school! Following that, we came up with a sketch to illustrate our vision:
Purchasing materials
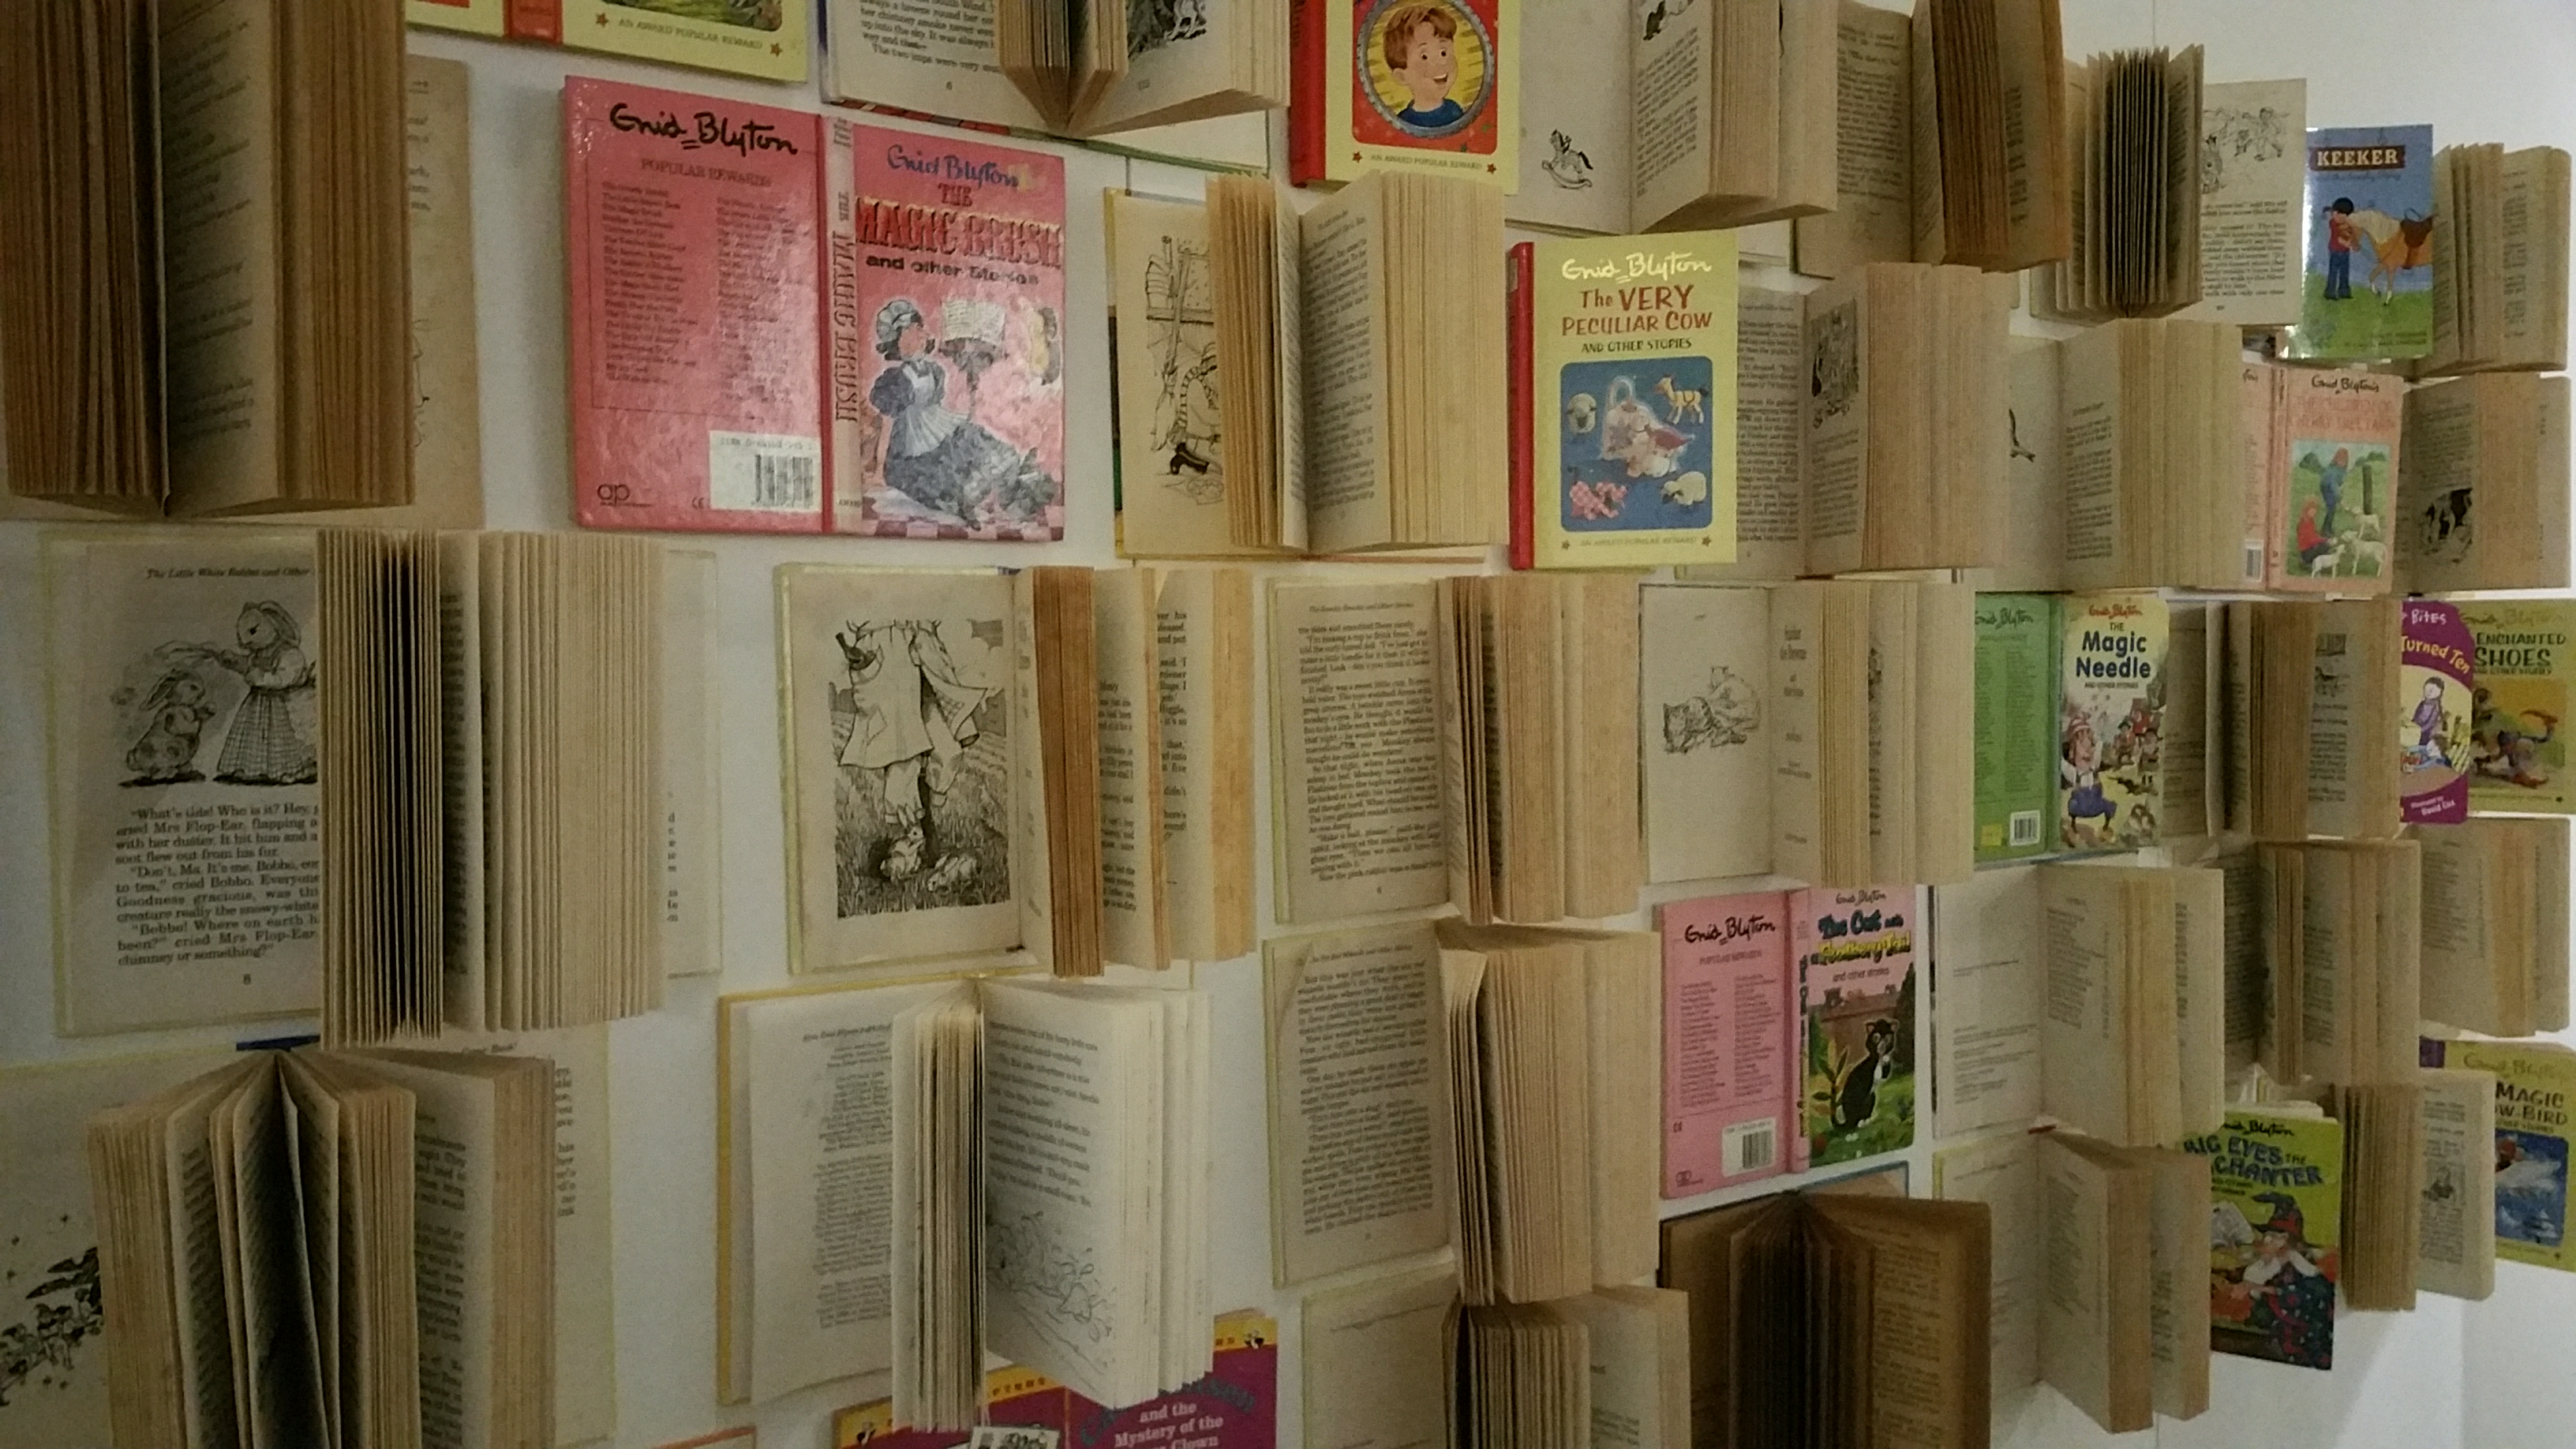
Once everything was finalized, we started sourcing for materials. The major items first, we fabricated a 2.4m by 4m wooden backdrop painted in white. This board was where the books would be stuck onto. Subsequently, we went scouring for old books that would be the main highlight of the backdrop. It wasn’t as tedious as we thought because these books were easily found, since most of us have been that die-hard Enid Blyton fan once in our lives! We purchased about 90 books in total. Closer to date, we went shopping for artificial flowers and leaves that would bring our backdrop to life. Our only consideration when picking these plants was that they have to be pretty and that they fit the colour theme which was made up mainly of red, dark pink and green.
Initial steps
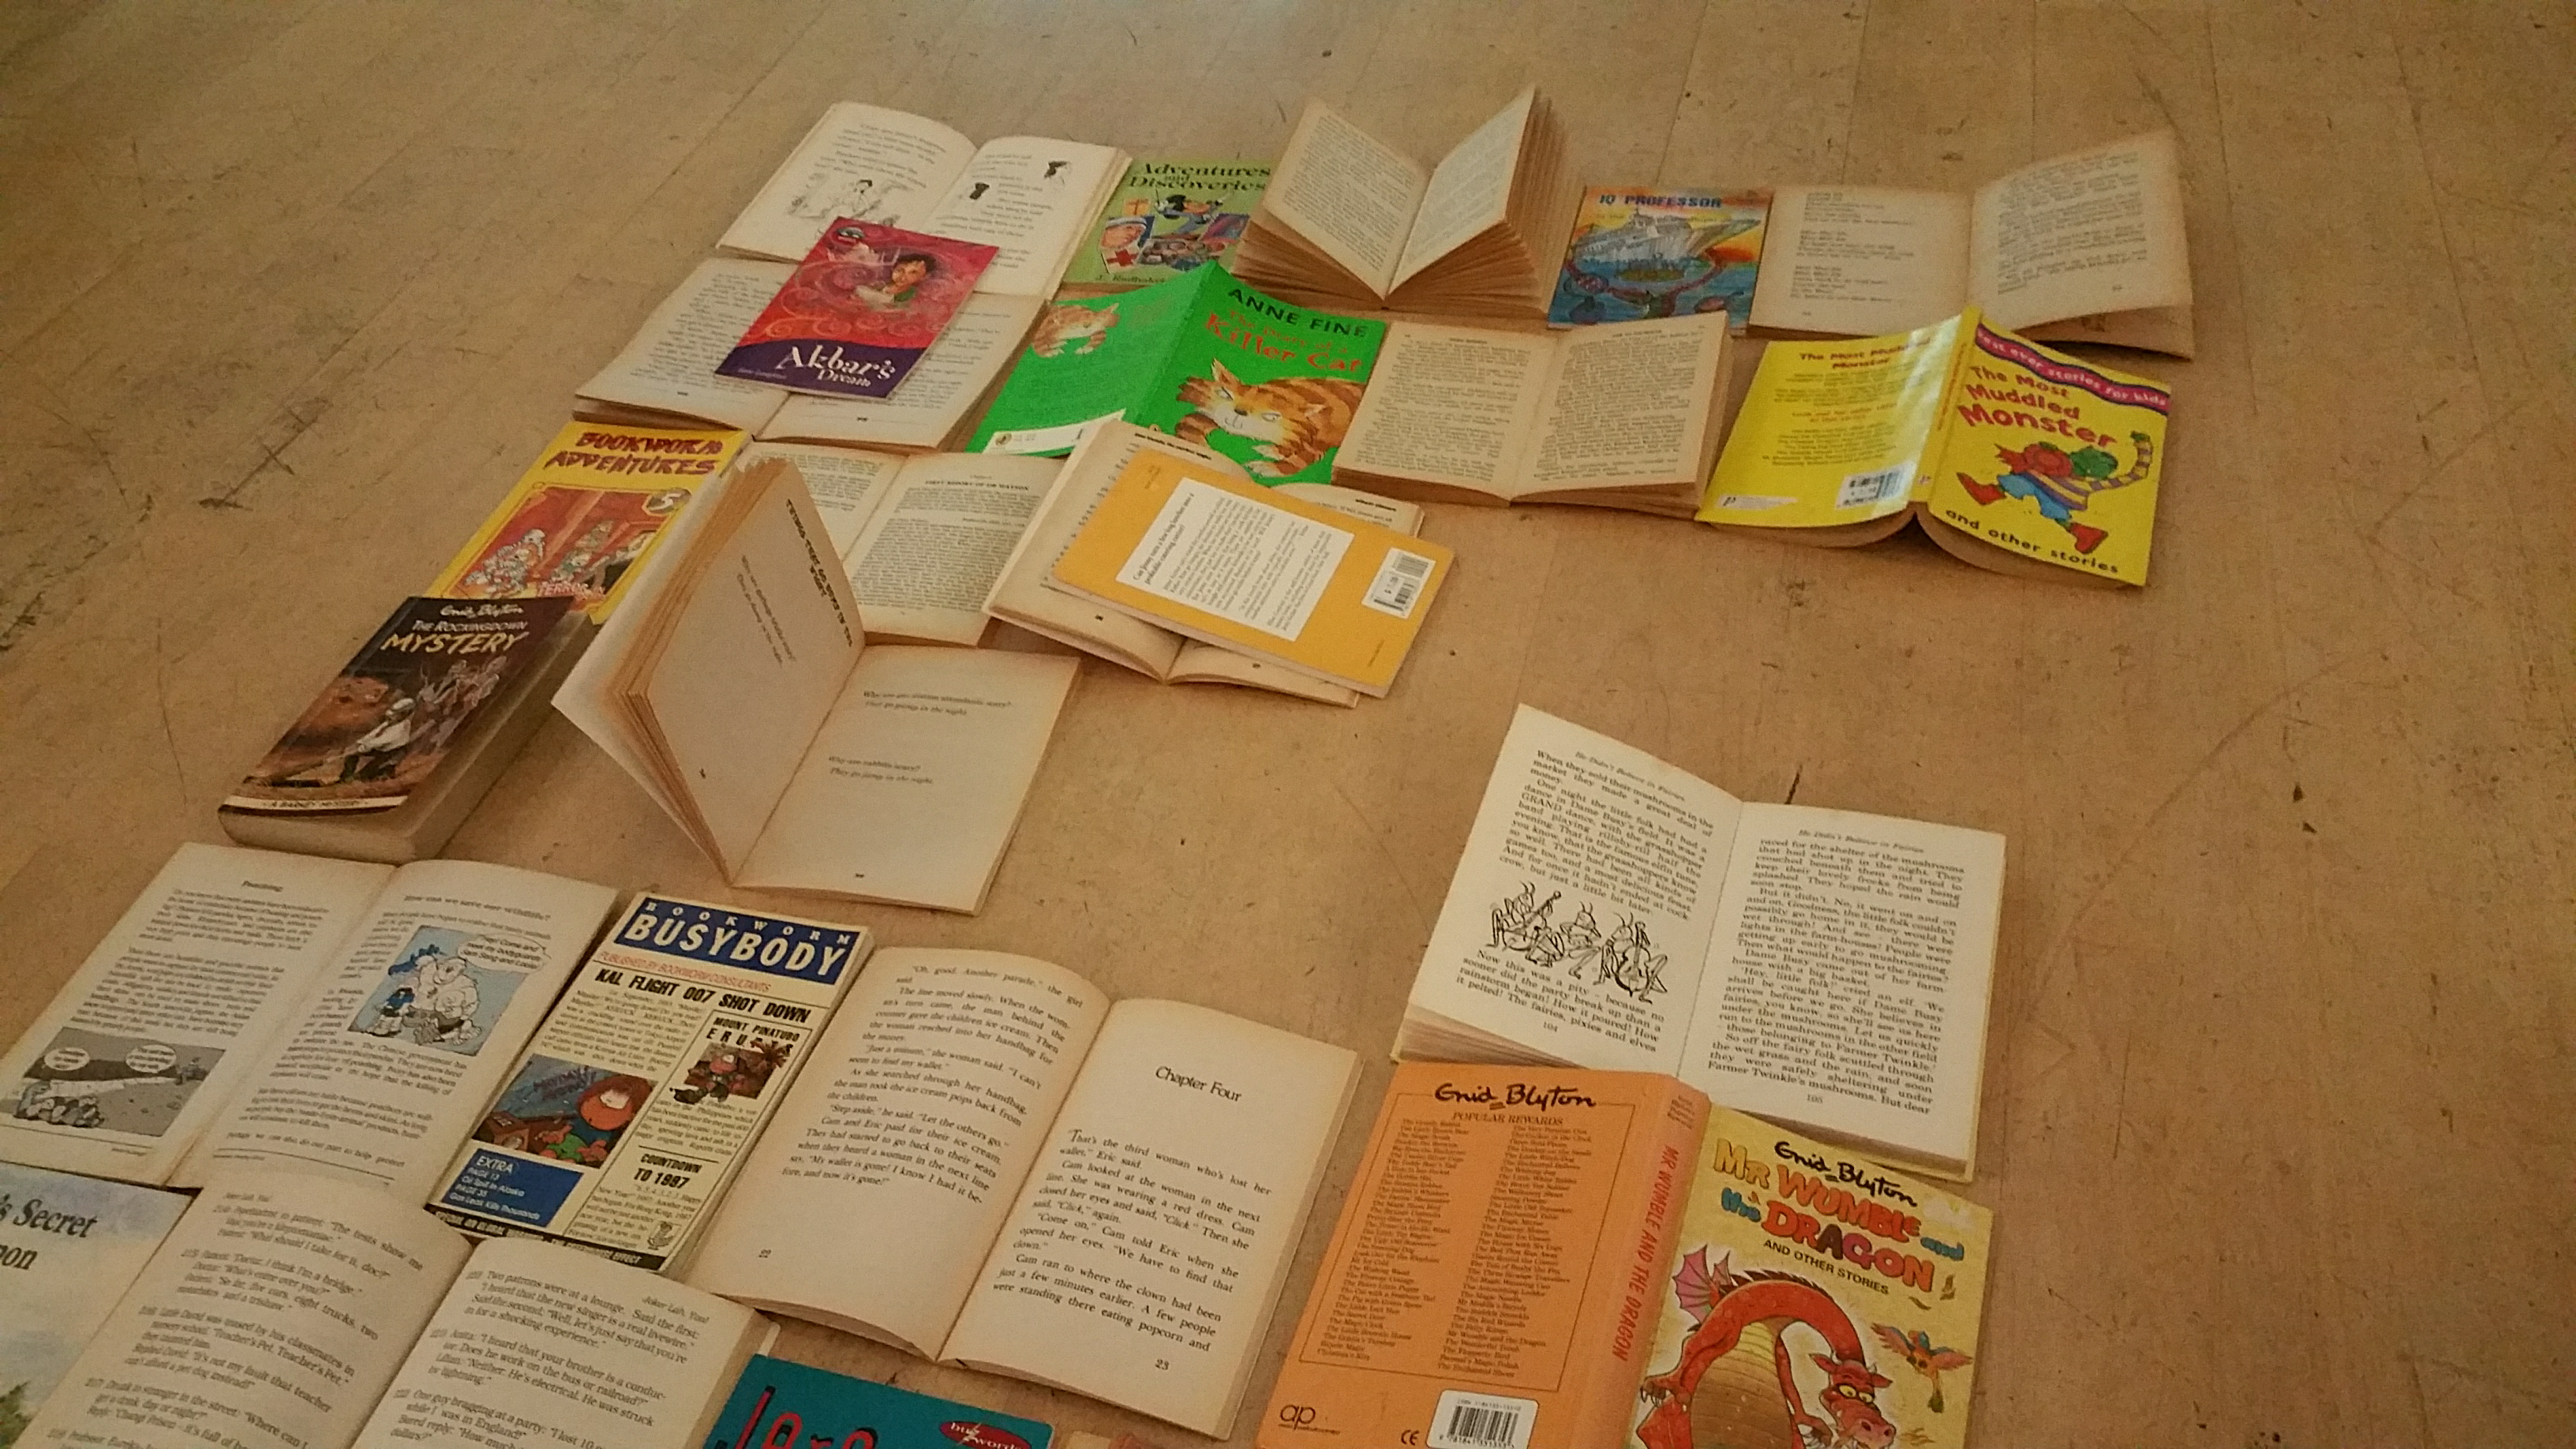
Work began! Before we started sticking the books to the board, we laid out all of them on the floor so we get an initial idea of how the backdrop is going to look like. Once all laid out, we moved books around, choosing to either show their colourful jackets or their yellowed pages. Books with covers that matched the theme were used to bring out the colours of the wedding while others that strayed from the palette were used for their old pages to bring out a rustic charm.
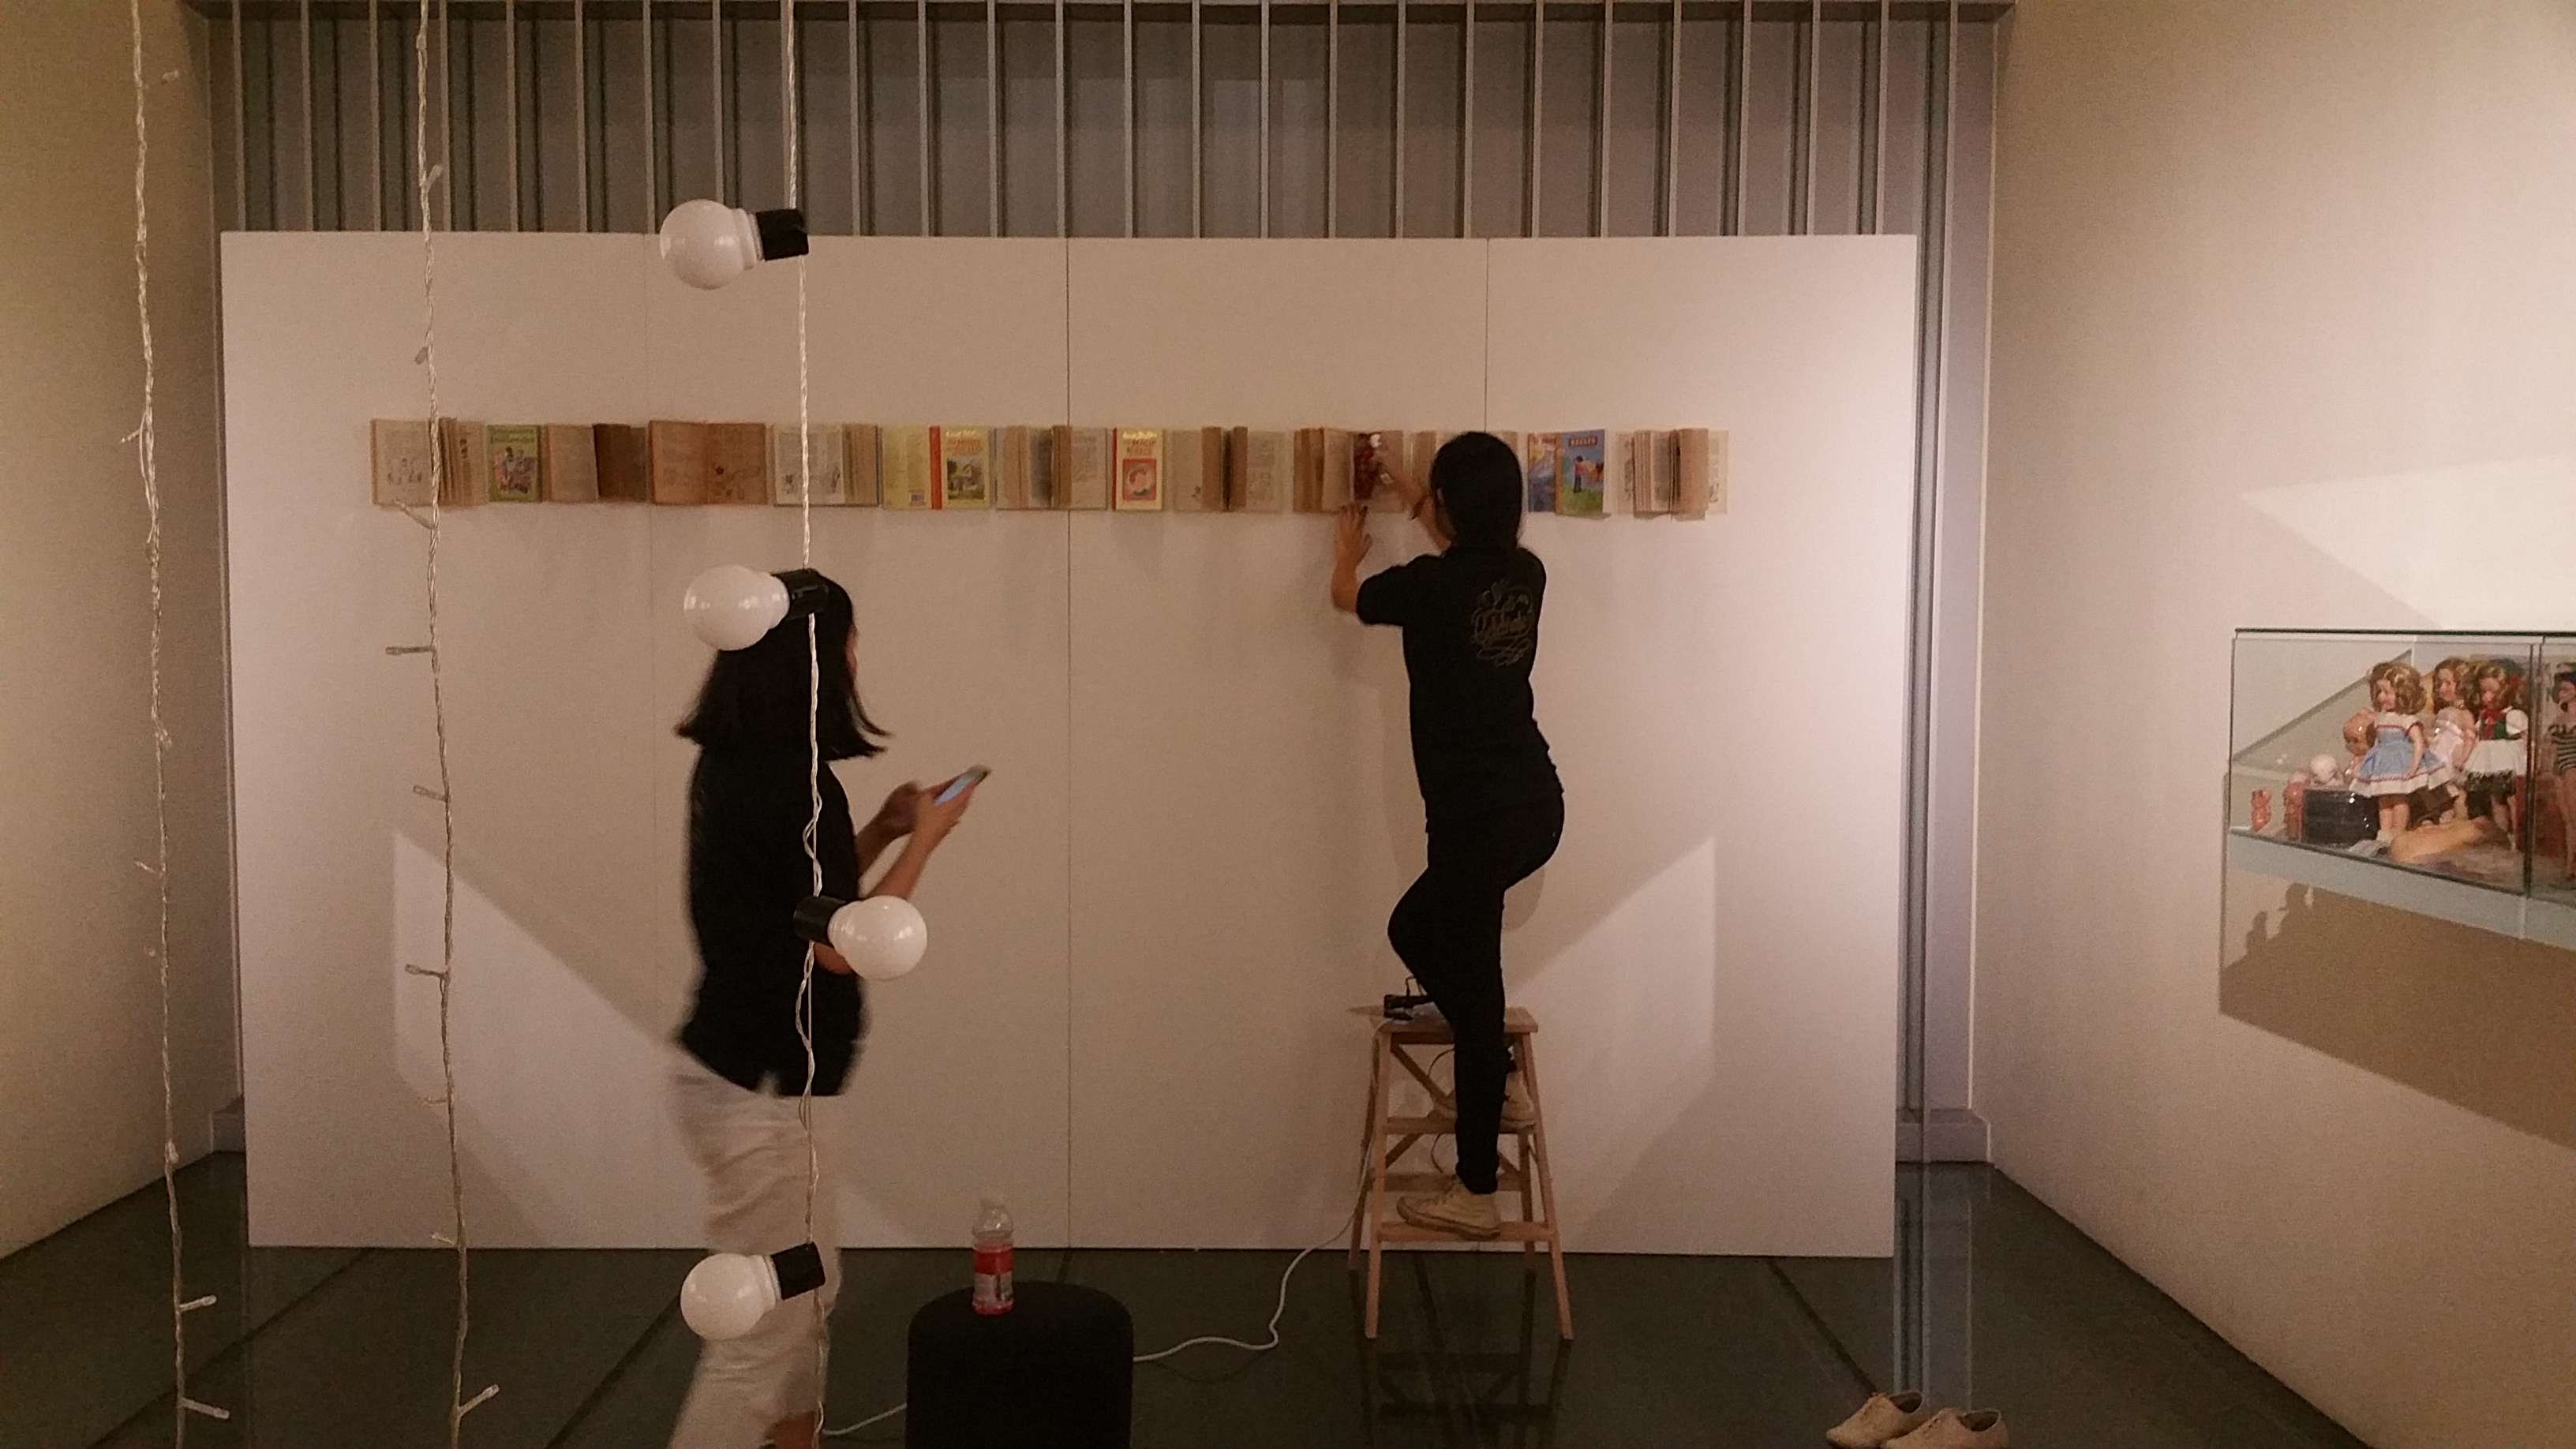
The next step we did is to measure out the centre position of the backdrop and then mark out the four corners. The sticking process then begins! We first used hot glue to fix the books to the backdrop and then go in with a staple gun for further reinforcement. We do not want any falling books!
Putting it all together
After the books were up, we spruced up the backdrop with the artificial flowers and leaves we purchased. Similarly, we made use of hot glue and a staple gun to decorate the corners of the backdrop and the bigger empty spaces in between the books.
Finishing touches
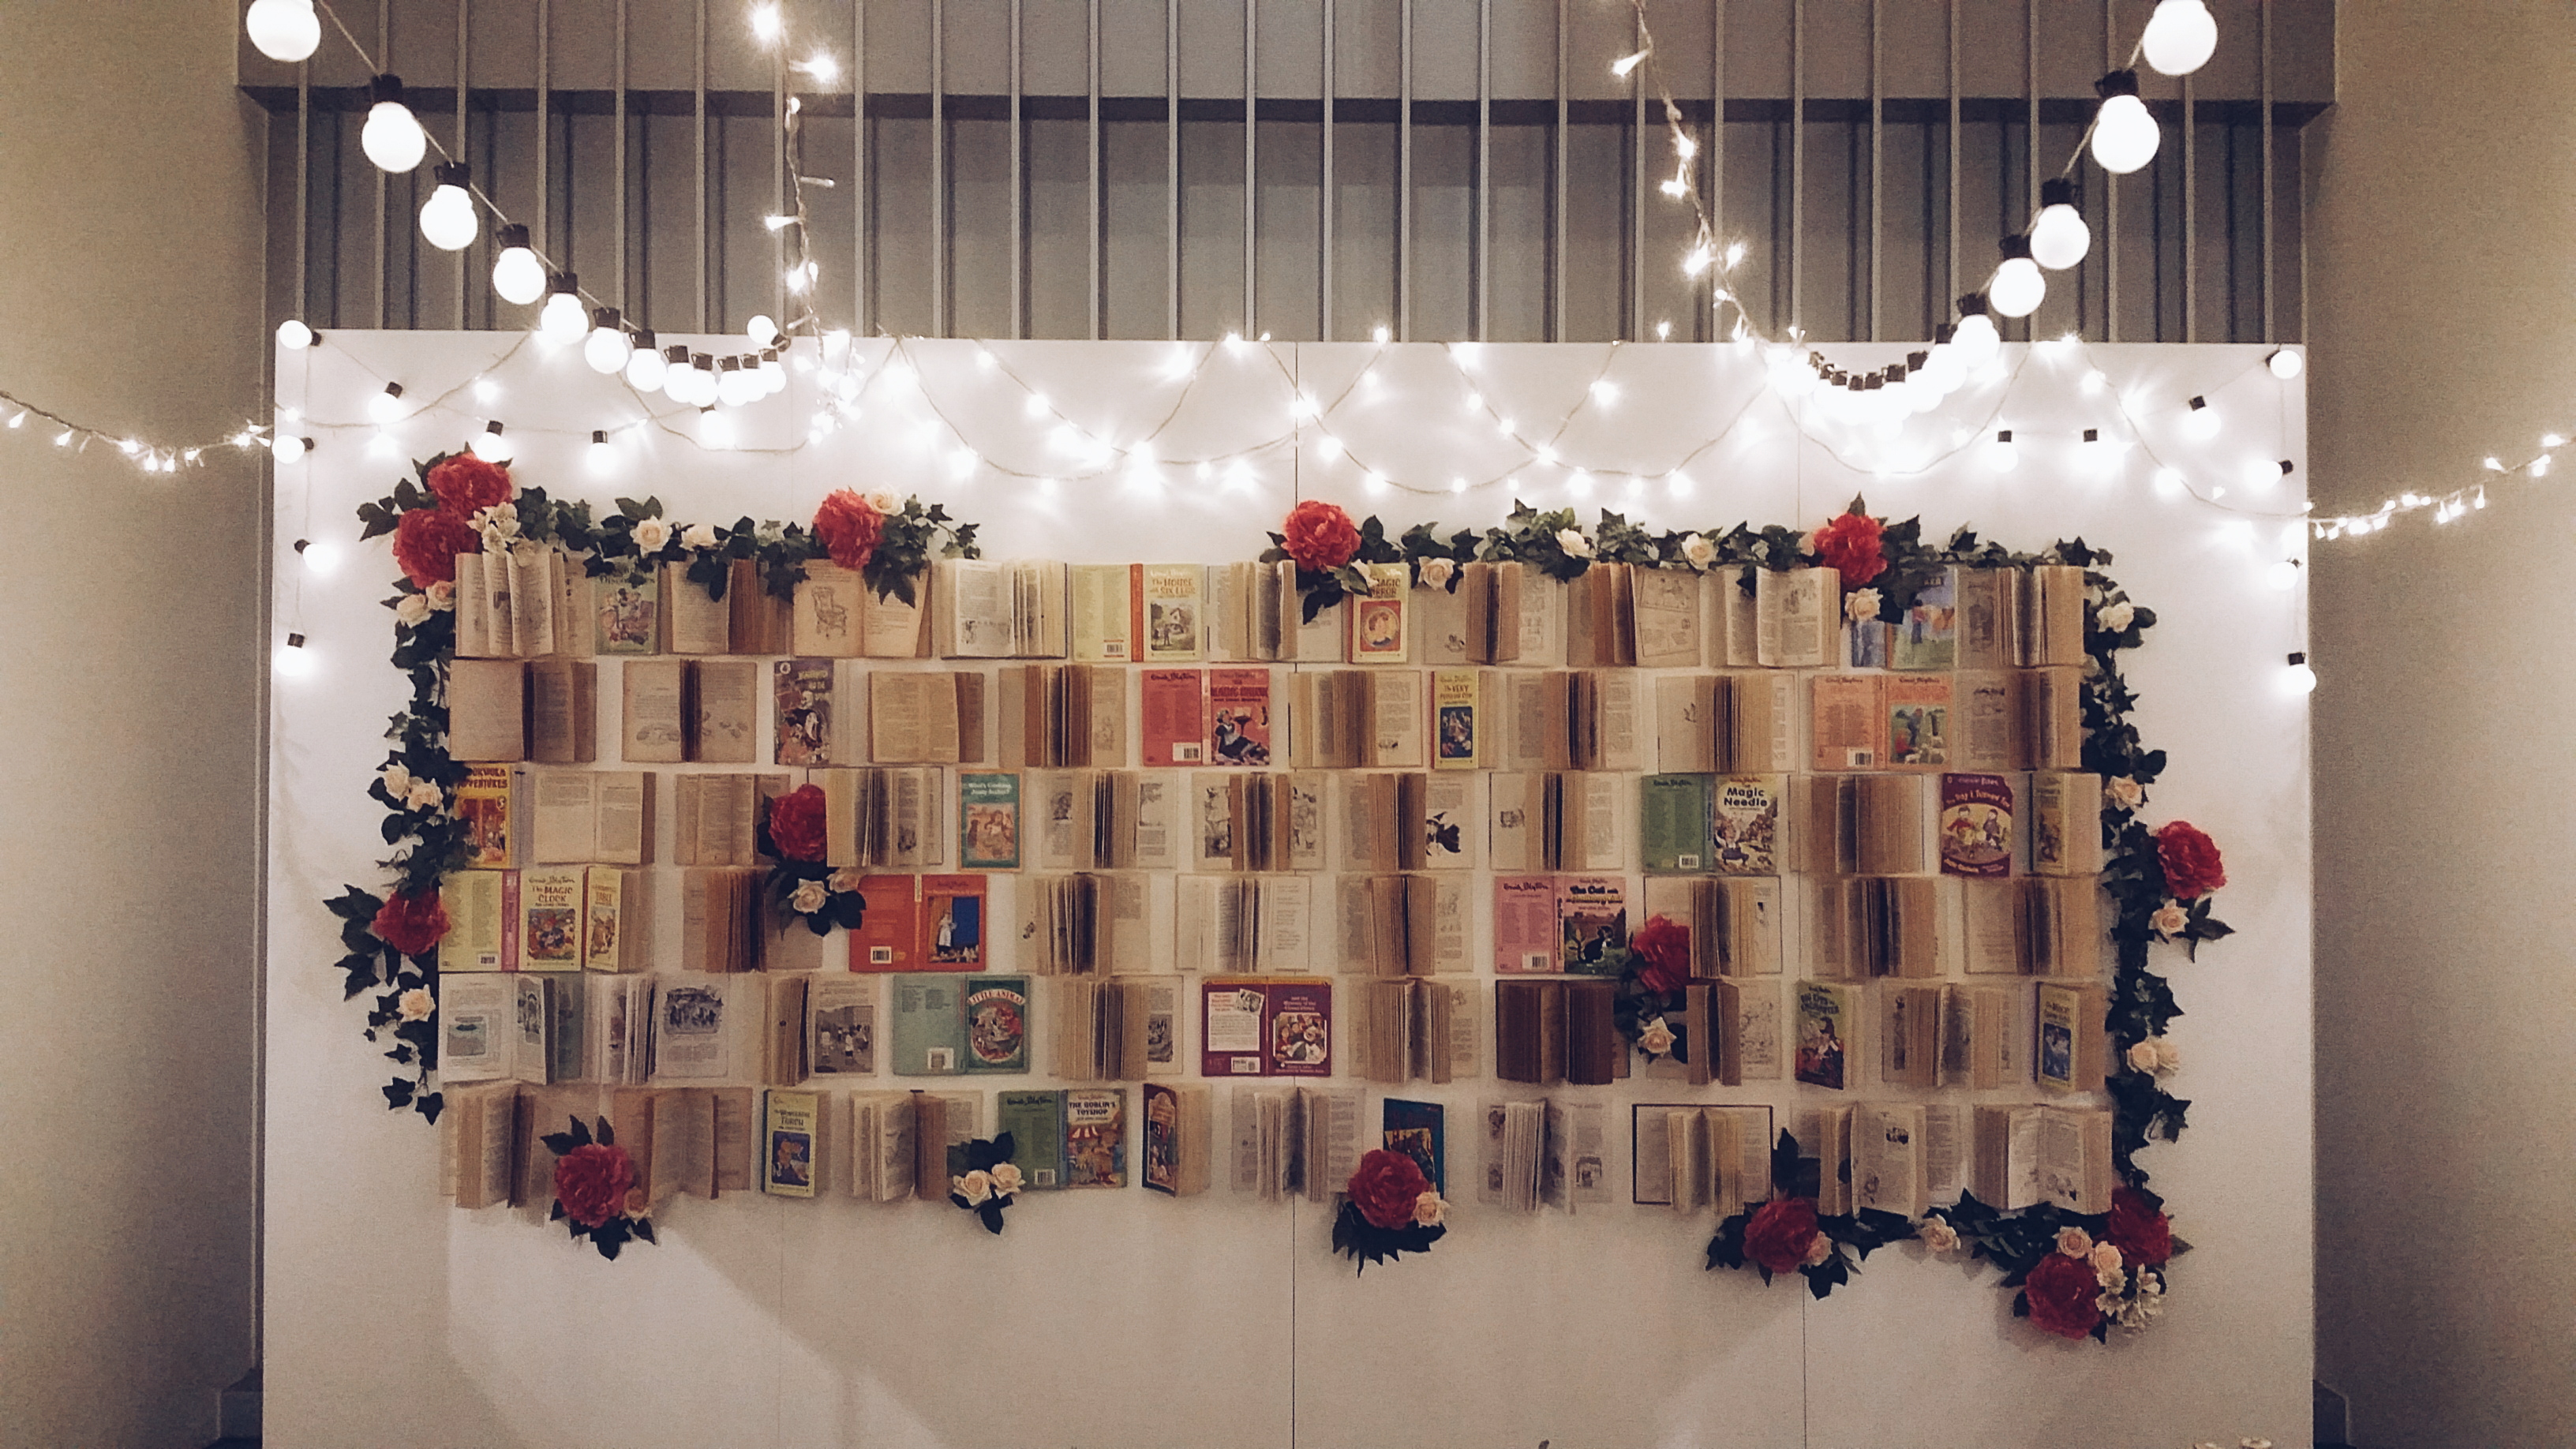
Once that was done, the final step was to put up the lights! We made use of both bistro lights and fairy lights that hung from the balcony one level above. This created the draping effect that we were going for, plus the wires could be hidden from the guests!